Connect your own domain
Use a domain you own instead of a supadrop.site address. Available on paid plans, SSL included.
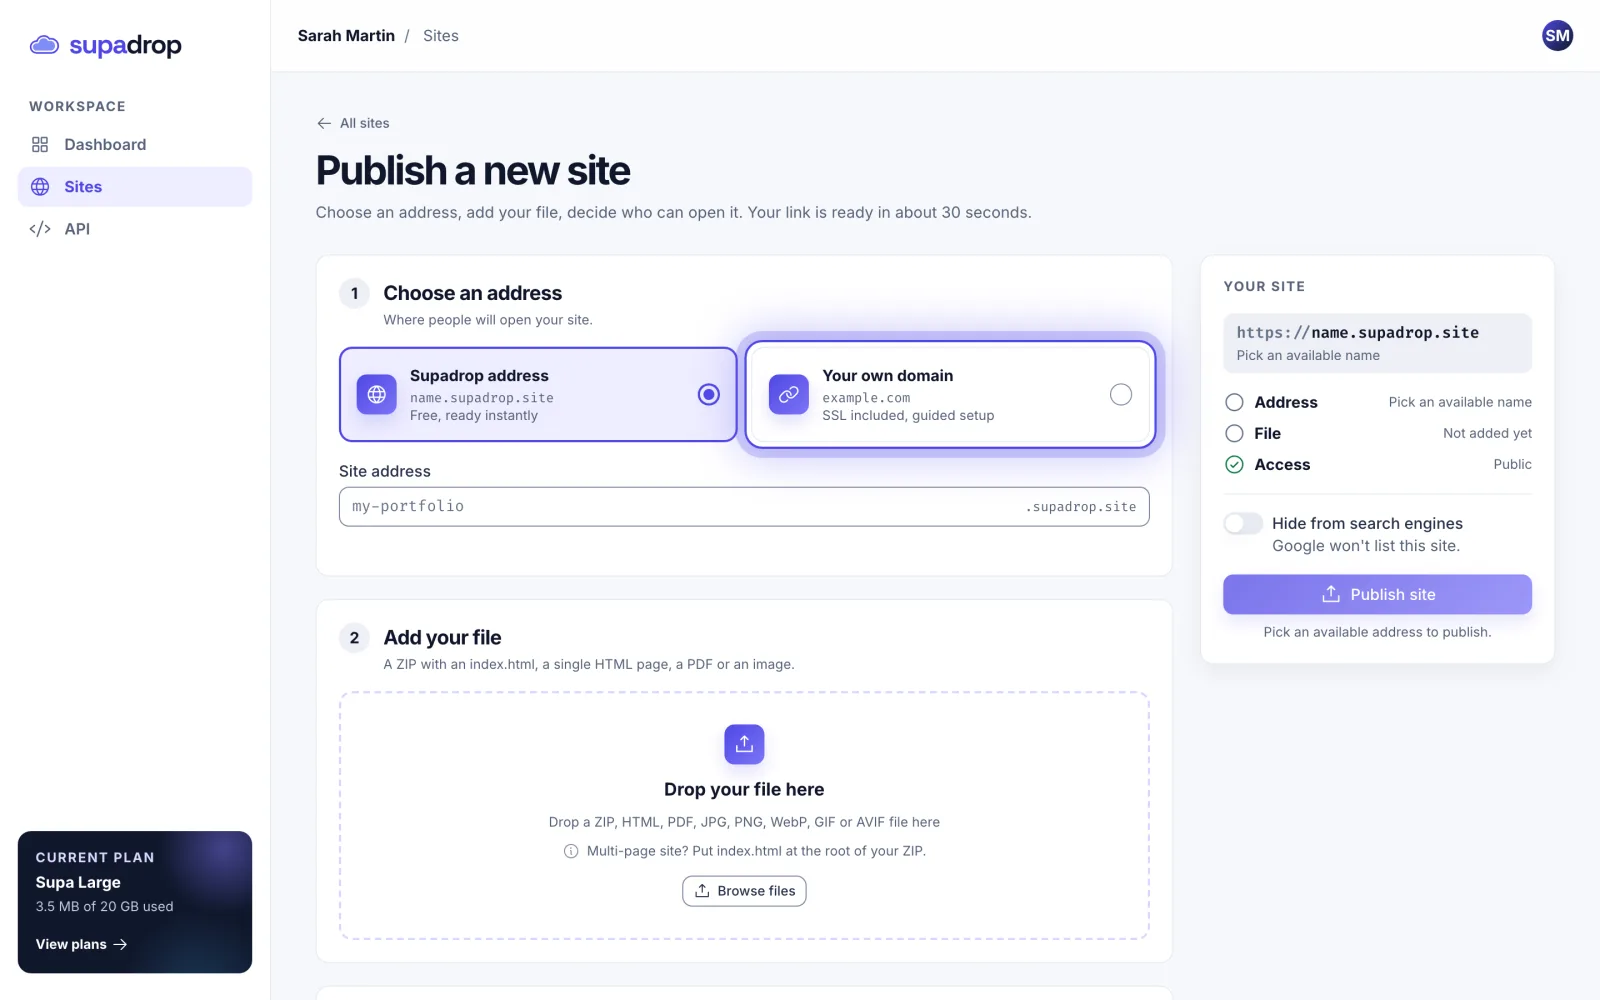
Custom domains are available on paid plans. The domain is set when you create the site. To publish on a subdomain such as blog.example.com, see Connect a subdomain.
Connect your domain
- In Sites, click New site.
- Under Choose an address, pick Your own domain.
- Type your domain and click Continue. Check the address, then click I understand, continue.
- Add the records shown at your registrar (OVH, Gandi, GoDaddy, Cloudflare…). Click Check DNS, or Verify later if you add them later.
- Add your file and click Publish site.
After you publish
Your site shows Configuring while Supadrop checks your DNS, every 2 minutes for 24 hours. Follow it in the Custom domain tab of your site. Once the records are found, you see DNS verified, then HTTPS active: your site is live on your domain.
If the records are still missing after 24 hours, you see DNS not found. Fix them at your registrar, then click Restart check.
Already have a site on this domain somewhere else? It stops working as soon as you change the DNS records, so only continue if Supadrop should replace it.