AI tools can generate a landing page from a single prompt. The problem is that the result often looks generic. The layout feels like a template (because it is), the copy reads like placeholder text, and the design does not reflect your brand. You end up spending more time fixing the AI output than you saved by using AI in the first place.
A better approach: start from a proven template that already handles layout, responsiveness, and performance, then use AI to customize every detail to match your brand and message. You get the structure of a professional designer and the speed of AI-assisted editing.
This guide walks you through the entire process. You will pick a free Astro template, clone it, customize it with Claude inside Cursor, and deploy the result as a live landing page. If you are new to static sites, our guide on what a static website is covers the fundamentals. If you already have an AI-generated site and just need hosting, see how to host HTML from an AI builder.
What you need before starting
The setup takes about five minutes. Here is everything you need:
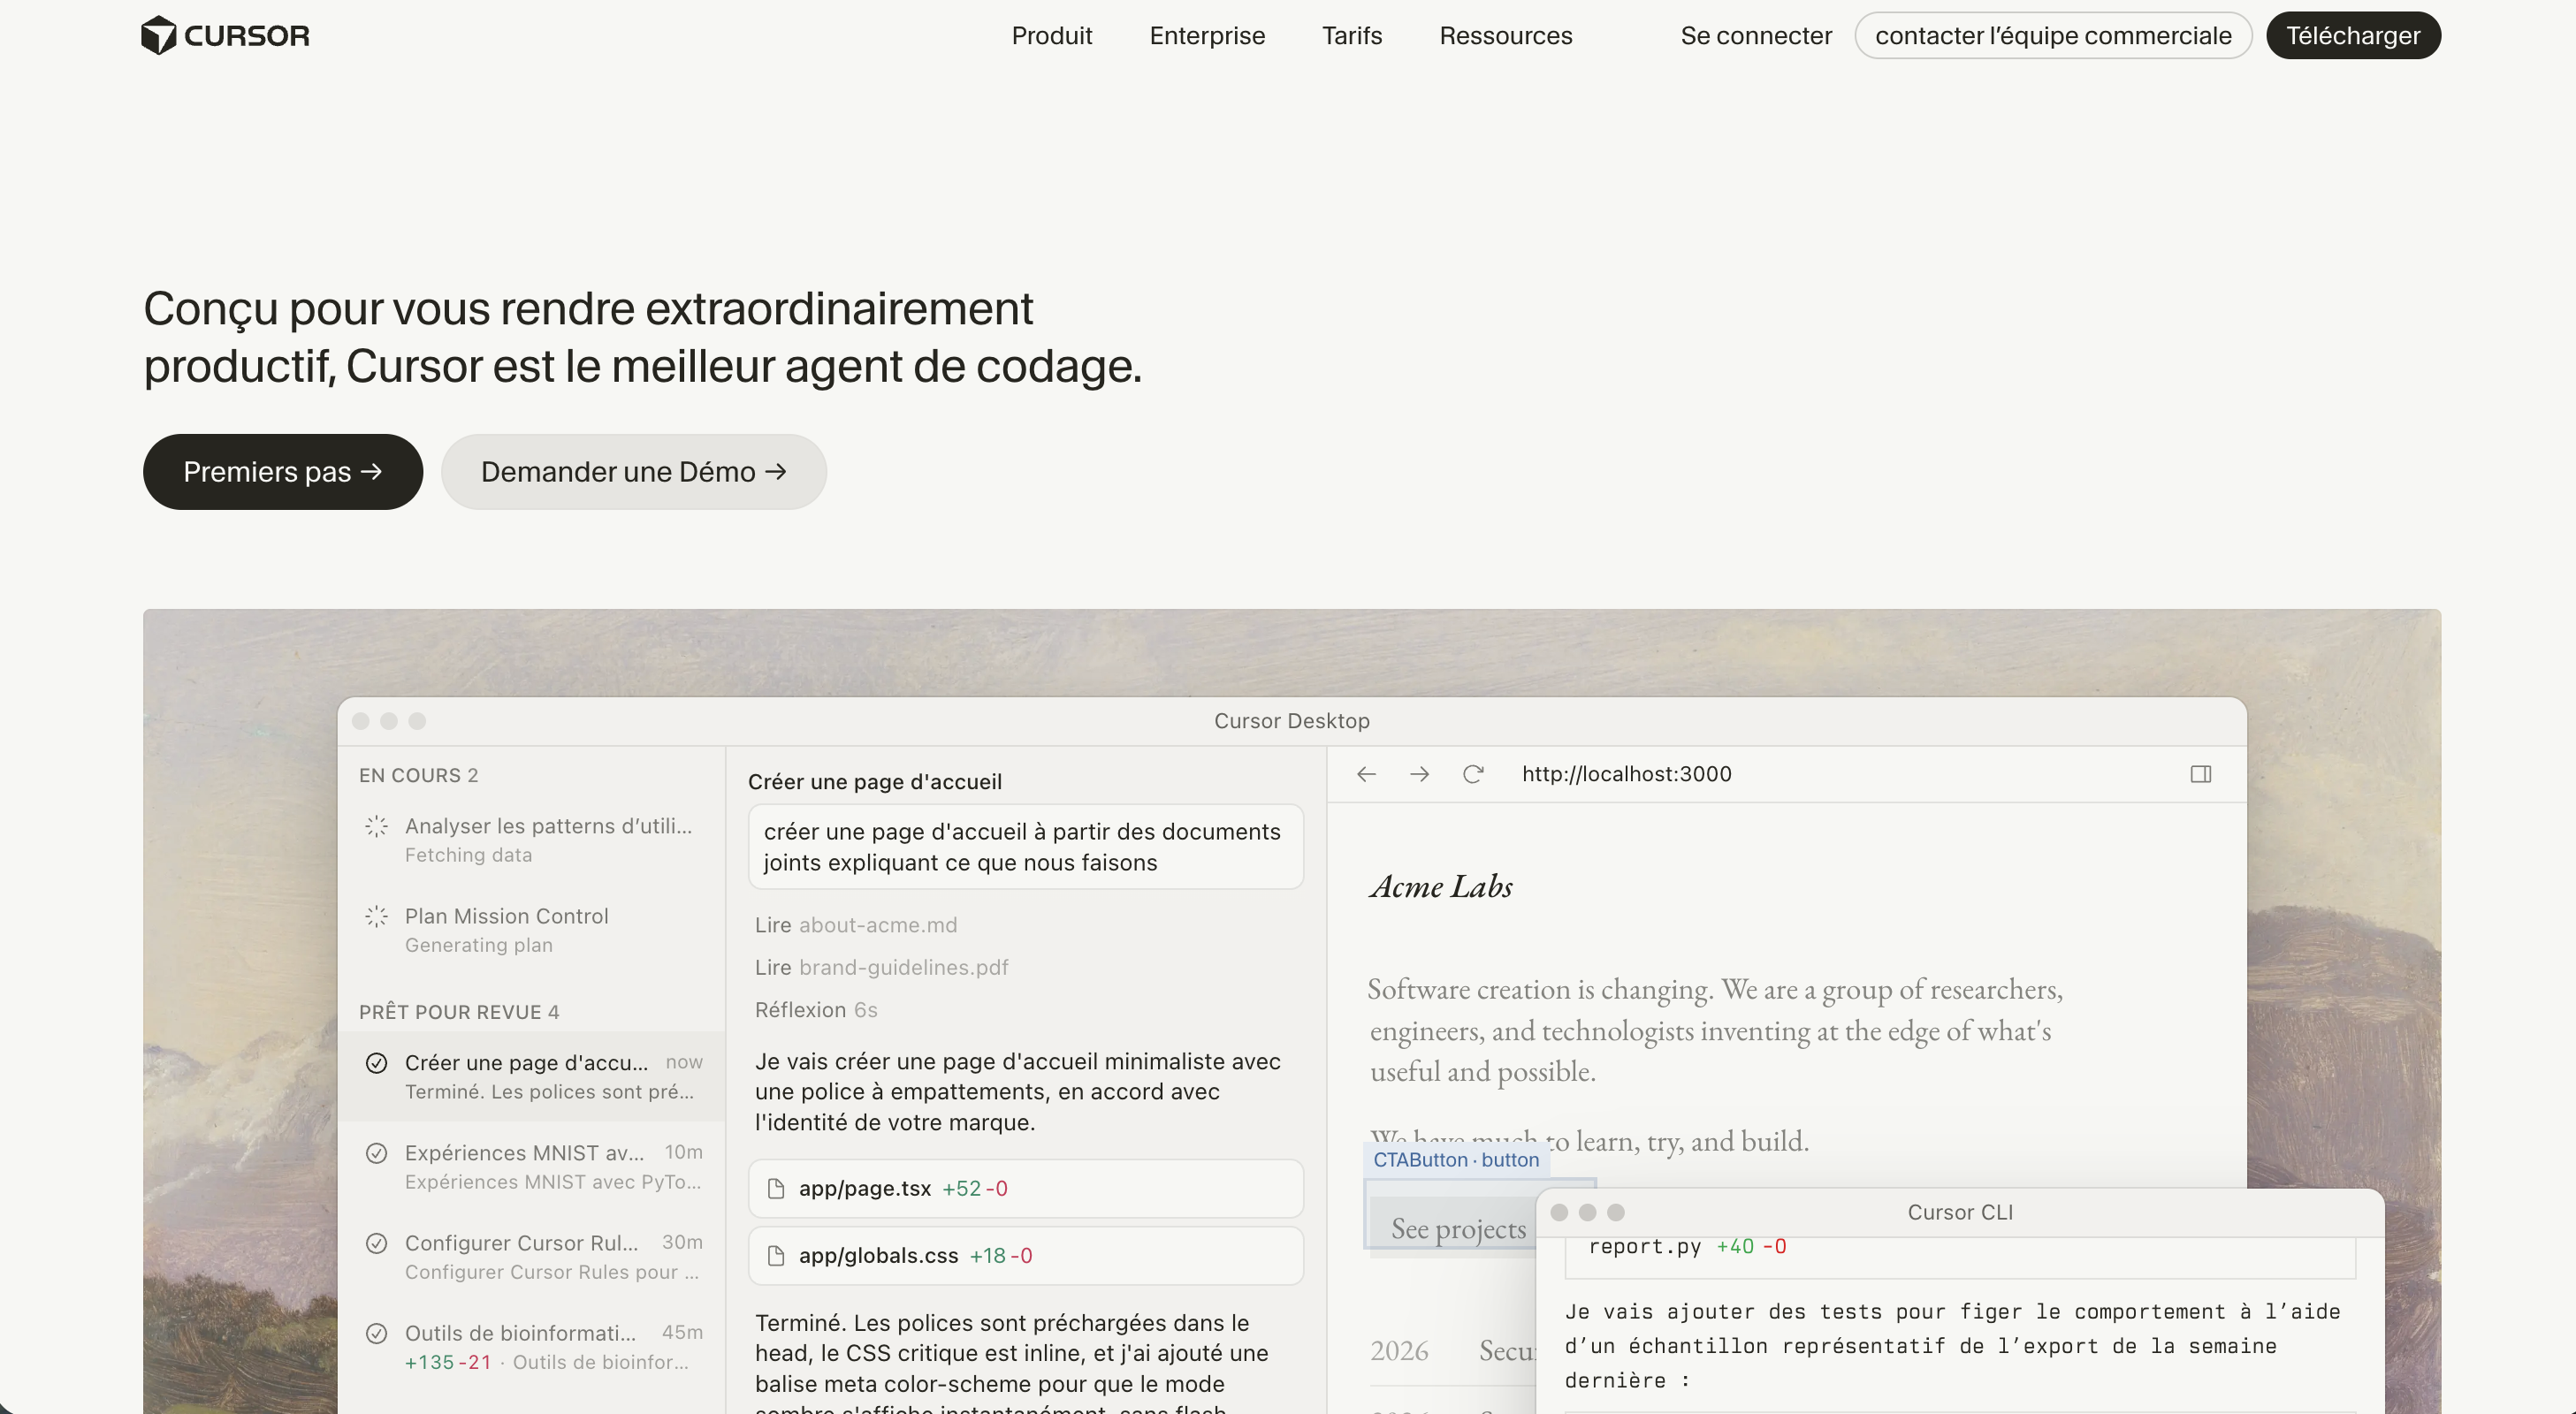
- Cursor (free tier works). Cursor is an AI-powered code editor built on VS Code. Download it from cursor.com. If you already use VS Code, Cursor will feel identical with AI features added on top.
- Claude as the AI model. Inside Cursor, Claude is available through the built-in model selector. Select Claude from the model dropdown in the chat panel. No separate Anthropic API key is needed on Cursor’s free tier.
- Node.js 18+ and npm. These are required to run Astro locally. Download from nodejs.org. To check if you already have them, run
node -vin your terminal. - A free Astro template. We will pick one together in the next step.
That is it. No accounts to create, no credit cards to enter, no complex toolchains to configure.
Step 1: Pick a free Astro template
Head to the Astro themes directory and filter by Free. You will find dozens of templates covering landing pages, portfolios, blogs, and documentation sites. For a landing page, look for templates that include a hero section, features grid, pricing table, and call-to-action blocks.
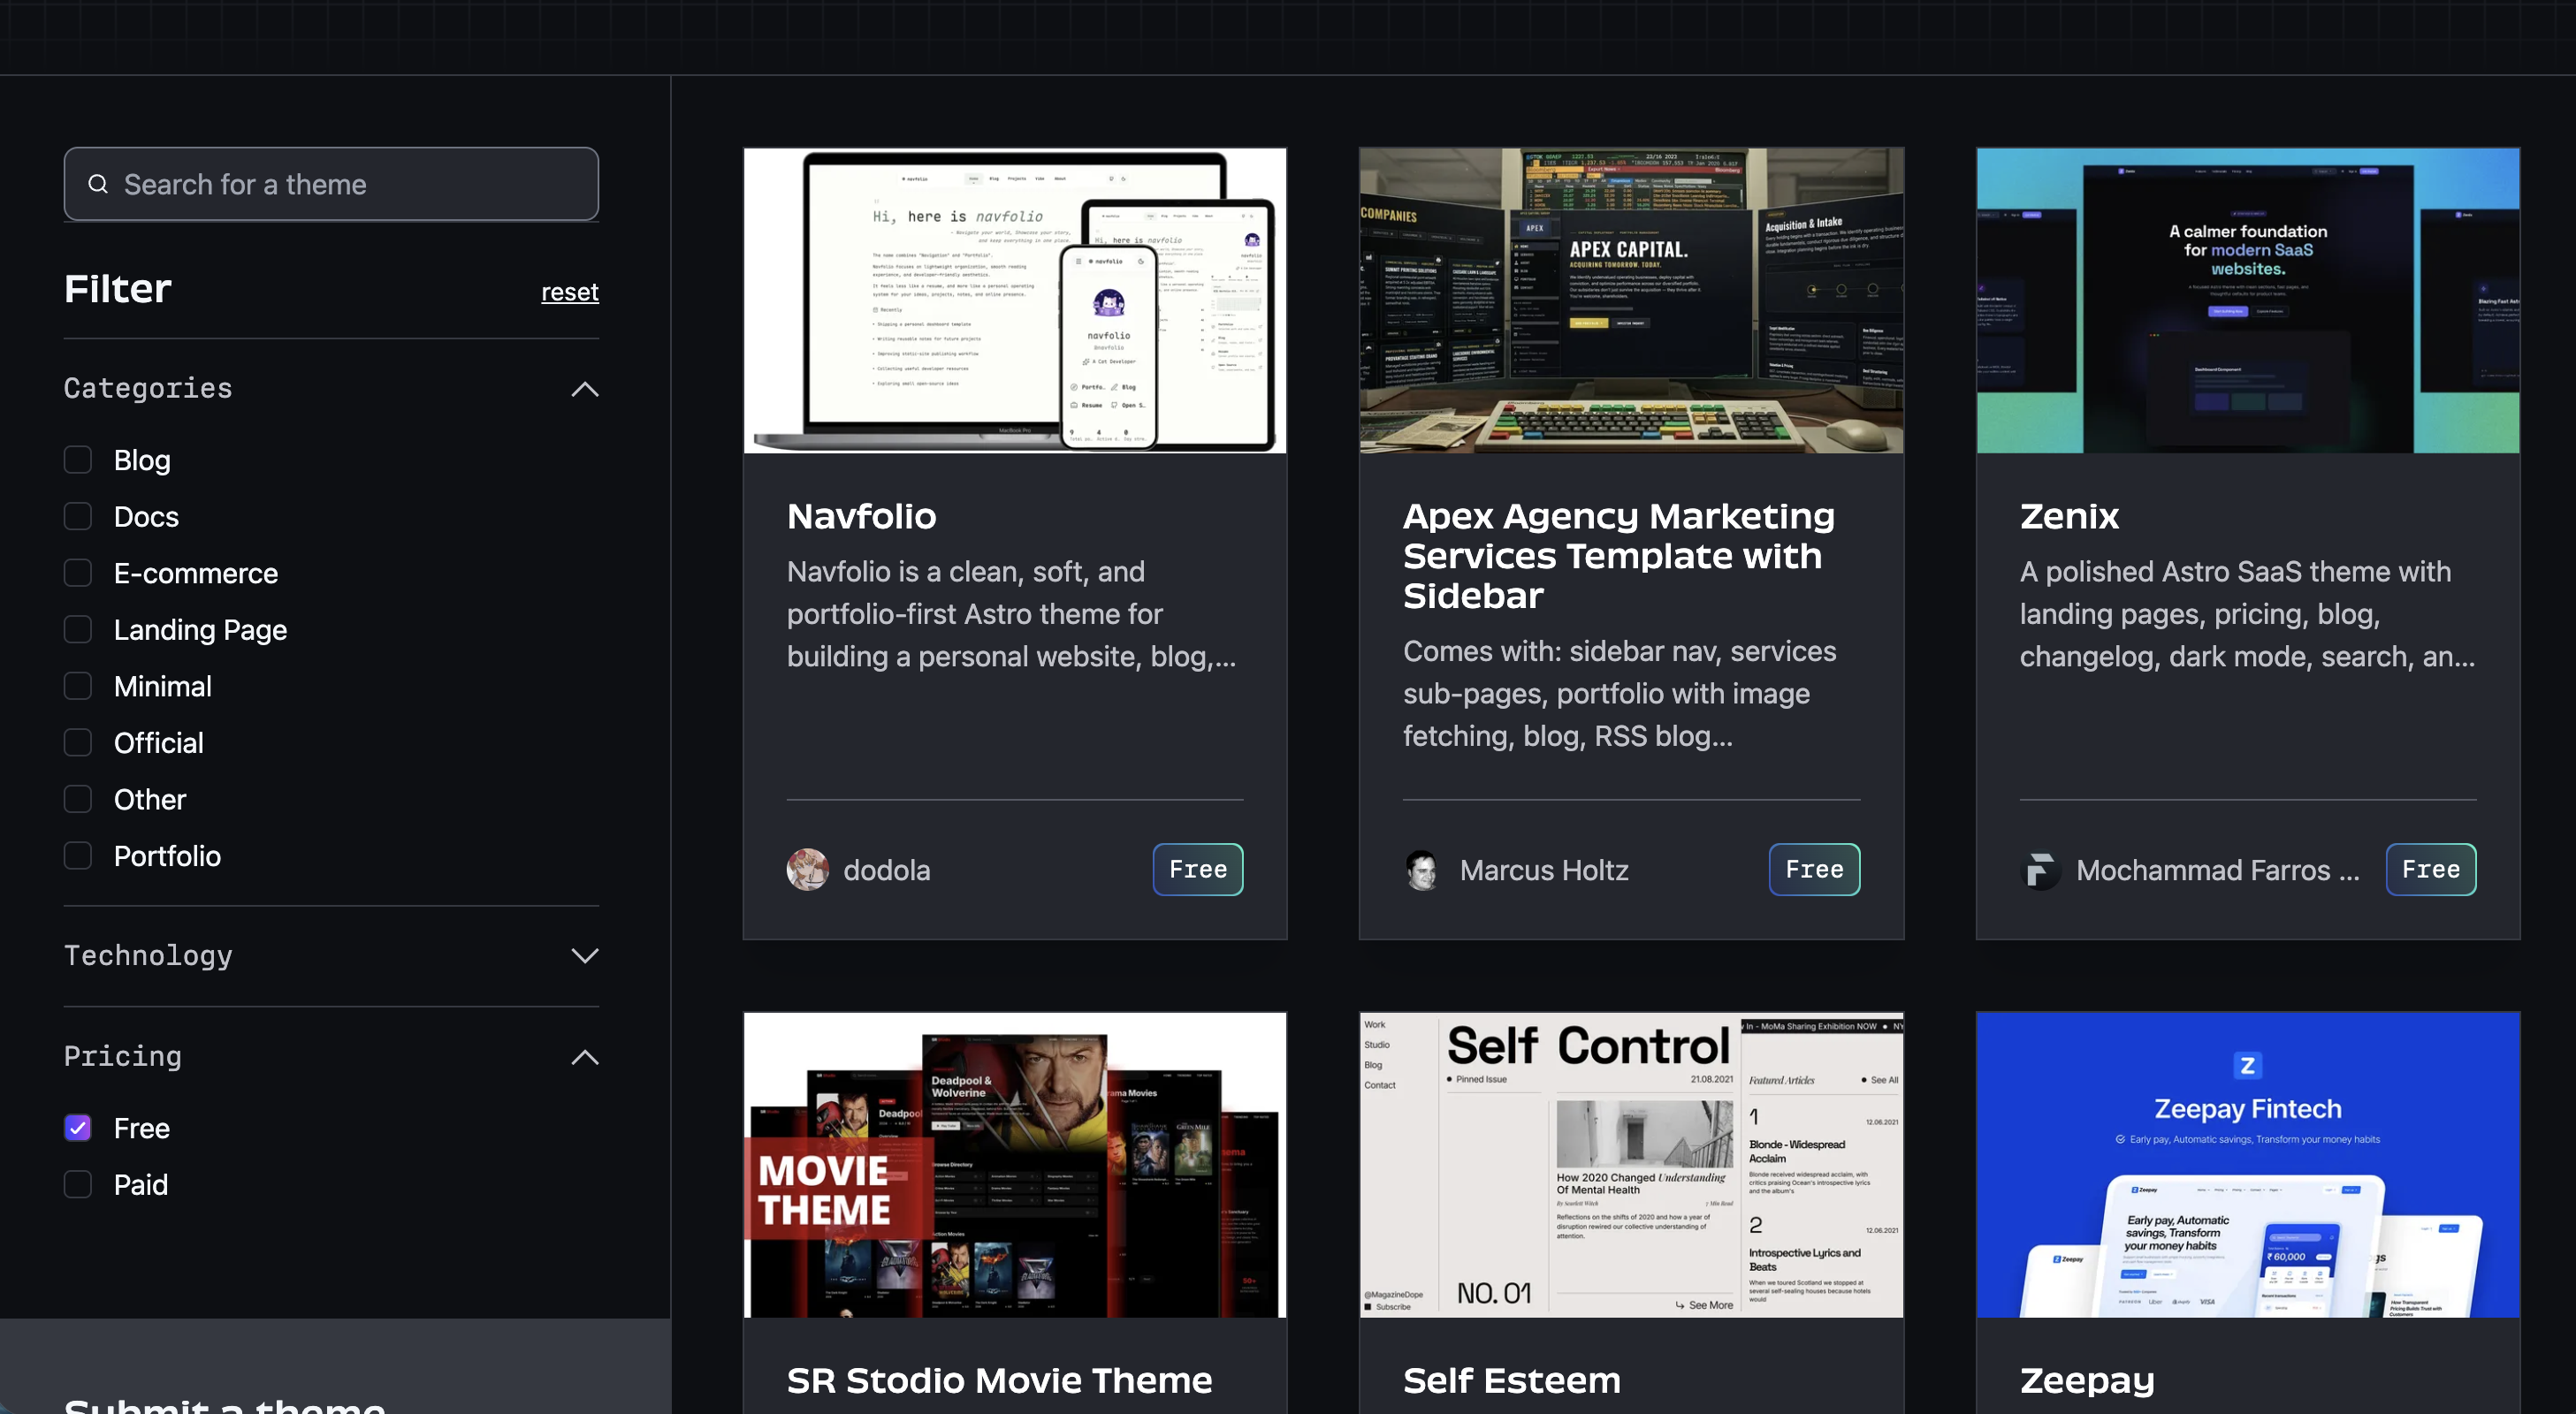
Here are three templates that work particularly well for this workflow:
Astroship (recommended)
Astroship is the most popular free Astro landing page template with over 1,900 GitHub stars. It includes a hero section, features grid, pricing cards, a CTA block, and a blog section. The design is clean and startup-focused. It uses Astro + Tailwind CSS with no other dependencies, which makes it straightforward to customize.
Why it is the best starting point: the component structure is simple and clearly named. When you open the project in Cursor and ask Claude to “rewrite the hero section for my SaaS product,” Claude can immediately find and modify the right file. No digging through nested component trees or deciphering custom abstractions.
Foxi (feature-rich alternative)
Foxi by Oxygenna is a more feature-rich option. It includes everything Astroship has, plus a dark mode toggle, page animations, and a JSON-based content management system. If you want a landing page that feels premium out of the box, Foxi delivers that with less customization needed.
The JSON content system is particularly useful with AI: you can ask Claude to generate all your page content as JSON objects, and Foxi renders them into polished sections automatically.
Bigspring Light Astro (SaaS-focused)
Bigspring Light Astro by Themefisher is designed specifically for SaaS and marketing websites. It comes with extensive customization options for colors, fonts, menus, and SEO metadata. Themefisher is a well-known theme shop, so the code quality and documentation are professional-grade.
Step 2: Clone and run locally
Open your terminal and clone the Astroship repository:
git clone https://github.com/surjithctly/astroship.git my-landing-page
cd my-landing-page
npm install
npm run dev
Your terminal will show a local URL, typically http://localhost:4321. Open it in your browser and you will see the default Astroship landing page. This is your starting point.
Now open the project in Cursor:
cursor .Take a quick look at the file structure:
src/
  pages/          → Your pages (index.astro is the landing page)
  components/     → Reusable sections (hero, features, pricing, CTA, navbar, footer)
  layouts/        → Page wrapper with head, meta tags, global styles
  content/        → Blog posts (if you keep the blog section)
tailwind.config.cjs → Colors, fonts, spacing
astro.config.mjs    → Astro configuration
The file you will modify the most is src/pages/index.astro. It imports and arranges all the sections. Each section lives in its own component file under src/components/. This modular structure is exactly what makes AI-assisted editing efficient: you can hand Claude one component at a time, with clear boundaries.
Step 3: Customize with Claude in Cursor
This is the core of the workflow. Open Cursor’s AI chat panel (Cmd+L on Mac, Ctrl+L on Windows) and start a conversation with Claude. Give it context about your project first:
“I am building a landing page for [describe your product or service]. The site uses the Astroship Astro template. I want to customize it to match my brand. I will ask you to modify sections one at a time.”
This initial context helps Claude give you better, more targeted output for every request that follows.
Rewrite the hero section
The hero is the first thing visitors see, so start here. Open src/components/hero.astro (or whatever the hero component is named in your template) and ask Claude:
“Rewrite the hero section for a [your product type]. Change the headline, subheadline, and CTA button text. Keep the existing layout and styling. The headline should focus on the main benefit, not the product name.”
Claude will rewrite the text content while preserving the HTML structure and Tailwind classes. Review the changes in Cursor’s diff view, accept what works, and ask for adjustments on anything that does not sound right.
Good prompts for hero copy:
- “Make the headline shorter and punchier. Focus on the outcome, not the feature.”
- “Add a secondary CTA button that says ‘See how it works’ and links to #features.”
- “The subheadline is too long. Rewrite it in under 20 words.”
Change the brand colors
Astroship uses Tailwind CSS, so the color palette lives in tailwind.config.cjs. Ask Claude:
“Update the color palette in tailwind.config.cjs to use #2563EB as the primary color. Adjust all derived shades (light, dark, hover states) so they maintain good contrast ratios. The current primary color is [check the file].”
Claude will update the Tailwind config and suggest any component-level changes needed to match. Check the browser preview to make sure text remains readable against the new colors, especially on colored backgrounds and buttons.
Customize features and pricing
The features section usually lives in a component like src/components/features.astro. Select the component and ask Claude:
“Replace the current six features with features for [your product]. Keep the icon + title + description format. Use [Heroicons / Lucide / whatever icons the template uses]. Each description should be one sentence, focused on a user benefit.”
For pricing, the same approach works:
“Rewrite the pricing section with three tiers: Free (for hobbyists, includes [list]), Pro at $19/mo (for professionals, includes [list]), and Team at $49/mo (for teams, includes [list]). Highlight the Pro plan as the recommended option.”
Claude will match the existing card layout and just swap the content. If you want structural changes (adding a feature comparison table below the cards, for example), describe the layout you want and Claude will generate it using the template’s existing Tailwind utilities.
Add or remove sections
Adding a new section is as simple as describing it:
“Add a testimonials section between Features and Pricing. Use a 3-column grid on desktop, stacking to single column on mobile. Each testimonial card should have an avatar circle with initials, the person’s name and role, and a short quote. Generate three realistic testimonials for a [product type].”
To remove a section, open src/pages/index.astro and ask Claude:
“Remove the blog section from the landing page. Remove the import and the component usage. I want the page to go directly from pricing to the footer CTA.”
Step 4: Polish and optimize
Before deploying, run through a quick quality pass. Claude can help with this too.
Voice and tone consistency
Select all of index.astro (or the components that contain your copy) and ask:
“Review all the marketing copy on this page. Check for consistent tone, repeated words, and awkward phrasing. The tone should be [professional / casual / friendly / technical]. List any suggestions.”
Claude will scan the text and flag inconsistencies. This catches the small things: a heading that uses “you” while another uses “your team,” or a CTA that says “Get Started” when every other button says “Start Free.”
Mobile responsiveness
Astro templates with Tailwind CSS are responsive by default, but any custom sections you added need checking. Open your browser’s dev tools (F12), toggle the device toolbar, and preview the page at mobile widths (375px, 768px). If something looks off, describe the issue to Claude:
“The testimonials grid overlaps on mobile at 375px width. Fix the responsive behavior so it stacks to a single column below 768px.”
SEO fundamentals
Ask Claude to audit the page for basic SEO:
“Review this Astro landing page for SEO. Check that there is exactly one H1, that the title tag is under 60 characters, that a meta description exists and is under 155 characters, that all images have alt text, and that the page has an OG image meta tag.”
For a deeper dive into static site SEO, our SEO guide for static websites covers everything from structured data to Core Web Vitals optimization.
Step 5: Build and deploy your landing page
Your landing page is customized and polished. Time to make it live. First, build the production version:
npm run buildThis produces a dist/ folder containing pure HTML, CSS, and JavaScript files. No server needed, no runtime dependencies. This folder is your entire website.
Deploy on Supadrop
The fastest path: zip the dist/ folder and drag that ZIP onto the Supadrop upload zone. Your landing page is live at yourname.supadrop.site in under 30 seconds. No Git repository to set up, no CI/CD pipeline to configure, no deployment commands to memorize.
Supadrop also gives you a QR code for every site, which is handy if you are printing business cards or flyers for the product you just built a landing page for. If you want a custom domain, connecting one takes a few minutes on a paid plan.
Alternative deployment options
If you prefer Git-based workflows, Astro deploys easily to other platforms too:
| Platform | Command | Free tier |
|---|---|---|
| Supadrop | Zip dist/, drag-and-drop the ZIP | 15-day trial, then $5/mo |
| Cloudflare Pages | npx wrangler pages deploy dist/ | Unlimited sites, Git required |
| Netlify | npx netlify deploy --prod | 100 GB bandwidth/mo |
| Vercel | npx vercel --prod | 100 GB bandwidth/mo |
For a detailed comparison of hosting platforms, our guide on free static website hosting covers seven options with pros and cons for each. For context on what a static website is and why the architecture performs so well for landing pages, we have a dedicated breakdown of the speed and cost advantages.
What to do next
Your landing page is live. Here is how to iterate on it:
Add analytics. Install Plausible, Fathom, or Google Analytics to see who visits your page and where they come from. In Cursor, ask Claude: “Add a Plausible Analytics script tag to the layout head. My domain is [yourdomain.com].”
Connect a custom domain. A .supadrop.site URL works for testing, but a custom domain builds trust. Point a CNAME or A record at your host and SSL provisions automatically once DNS propagates.
A/B test your messaging. The beauty of AI-assisted editing: testing a new headline takes 30 seconds. Ask Claude for three alternative hero headlines, build and deploy each version, and compare which one gets more signups. Iterate fast, ship often.
Expand the site. Your landing page can grow into a full marketing site. Add a blog (Astro’s content collections make this easy), a changelog page, a documentation section. Each page is just another .astro file in src/pages/.
Frequently asked questions
Do I need coding experience to create a landing page with AI?
No. Claude in Cursor writes and modifies the code for you. You describe what you want in plain English and the AI handles the implementation. You will run a few terminal commands (npm install, npm run dev, npm run build), but those are copy-paste, one-line commands.
If even that feels unfamiliar, zero-terminal options like Claude Artifacts give you a single HTML file with no build step at all.
Is Astroship free for commercial use?
Yes. Astroship uses the MIT license, which allows free use for both personal and commercial projects with no restrictions. You can modify it, rebrand it, and sell products through it without paying anything to the template author.
Can I use ChatGPT or another AI instead of Claude?
Yes. Cursor supports multiple AI models including GPT-4o and Gemini. We recommend Claude for its strong code comprehension (it handles multi-file edits and understands component relationships well), but the same workflow applies with any model. The prompts in this guide work with any AI that can read and modify code.
How fast are landing pages built with Astro?
Very fast. Astro outputs static HTML with zero JavaScript by default. Unlike React or Next.js, which ship a JavaScript runtime to the browser, Astro sends only the HTML and CSS needed to render the page. Most Astro landing pages score 95 or higher on Google Lighthouse for performance, which translates to sub-second load times on average connections.
Can I add a contact form to a static Astro landing page?
Yes. Several approaches work:
- Formspree or Getform: add a form with an
actionattribute pointing to their endpoint. No backend code needed. - Netlify Forms: if you deploy on Netlify, forms are detected automatically.
- Serverless function: Astro supports API routes with adapters for Cloudflare Workers, Vercel, and Netlify.
Ask Claude in Cursor to “add a contact form using Formspree” and it will set up the HTML form, handle validation, and add a success message. The entire integration takes about two minutes.